 ultimate-guide
Roof Repair Cost for Storm Damage: What to Expect
Table of Contents
- What Storm Damage Roof Repair Actually Costs
- Signs of Storm Damage on Roof You Should Never Ignore
- How to File a Roof Insurance Claim Step by Step
- How to Fight Roof Insurance Denial When It Happens
- Minor vs. Major Storm Damage: Repair or Replace?
- DIY vs. Professional Repair: What Makes Sense
- Post-Repair Inspection Checklist for Storm Damage
- Frequently Asked Questions
Last Updated: October 2, 2026
What Storm Damage Roof Repair Actually Costs
The roof repair cost for storm damage depends on three things: how much of the roof is damaged, what material it is made of, and whether you file an insurance claim. Most homeowners are surprised to learn the out-of-pocket number they actually pay is often just their deductible, not the full invoice.
Cost Per Square Foot by Roofing Material
Material choice swings the bill more than any other single factor. Asphalt shingles sit at the low end because the material is inexpensive and crews install them quickly. Metal, tile, and slate climb from there, driven by material cost, weight, and specialized labor.
| Material | Typical Repair Cost (per square) | Typical Repair Scenario |
|---|---|---|
| Asphalt shingle | $150 - $400 | Replacing a section of torn or granule-bare shingles |
| Architectural shingle | $250 - $600 | Matching a discontinued profile after wind uplift |
| Metal | $500 - $1,500 | Straightening panels, resealing fasteners and seams |
| Tile (clay or concrete) | $600 - $1,800 | Replacing cracked tiles, repairing underlayment |
| Slate | $1,000 - $3,000+ | Sourcing and setting matched slate by hand |
What Drives Your Number Up or Down
Beyond material, five variables move the estimate the most:
- Roof pitch. Anything steeper than a 6/12 pitch slows crews and requires more fall protection, adding labor hours.
- Access and height. Multi-story homes, tight lots, and landscaping that blocks a ladder or dumpster add mobilization cost.
- Damage extent. A single wind-lifted section is a patch; hail bruising across three slopes is a multi-day job.
- Matching materials. If your shingle profile is discontinued, a color-match patch may require replacing an entire slope for visual consistency.
- Emergency timing. Post-storm demand spikes labor rates and scheduling lead times, sometimes by 20% or more in the first two weeks.
Emergency Tarping and Temporary Protection
Emergency tarping is a stopgap, not a repair. It keeps water out of your roof decking and ceilings until a permanent fix can be scheduled, and it is usually billed separately. Typical tarping runs $300 to $1,000 for a single-story home, and more for steep or multi-story roofs.
The Deductible Math Most Homeowners Get Wrong
Your out-of-pocket cost is not the invoice, it is the invoice minus what insurance pays, capped by your deductible. If your deductible is $2,000 and the covered repair is $9,000, you pay $2,000 and the insurer pays $7,000. If the repair is $1,500, you pay the full $1,500 because the claim never clears the threshold.
Signs of Storm Damage on Roof You Should Never Ignore
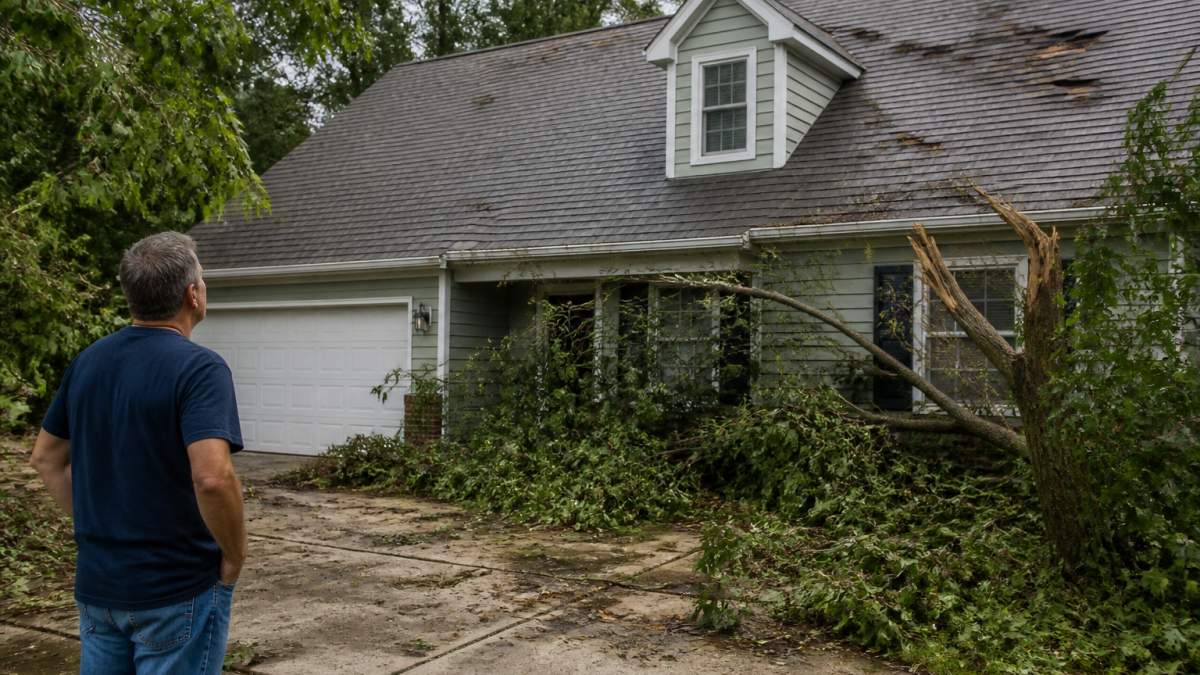
The signs of storm damage on roof surfaces are easy to miss from the ground, which is why many homeowners discover problems only after a ceiling stain appears. Wind, hail, and debris each leave distinct fingerprints, and knowing what to look for helps you document a claim before the evidence weathers away.
Watch for these indicators:
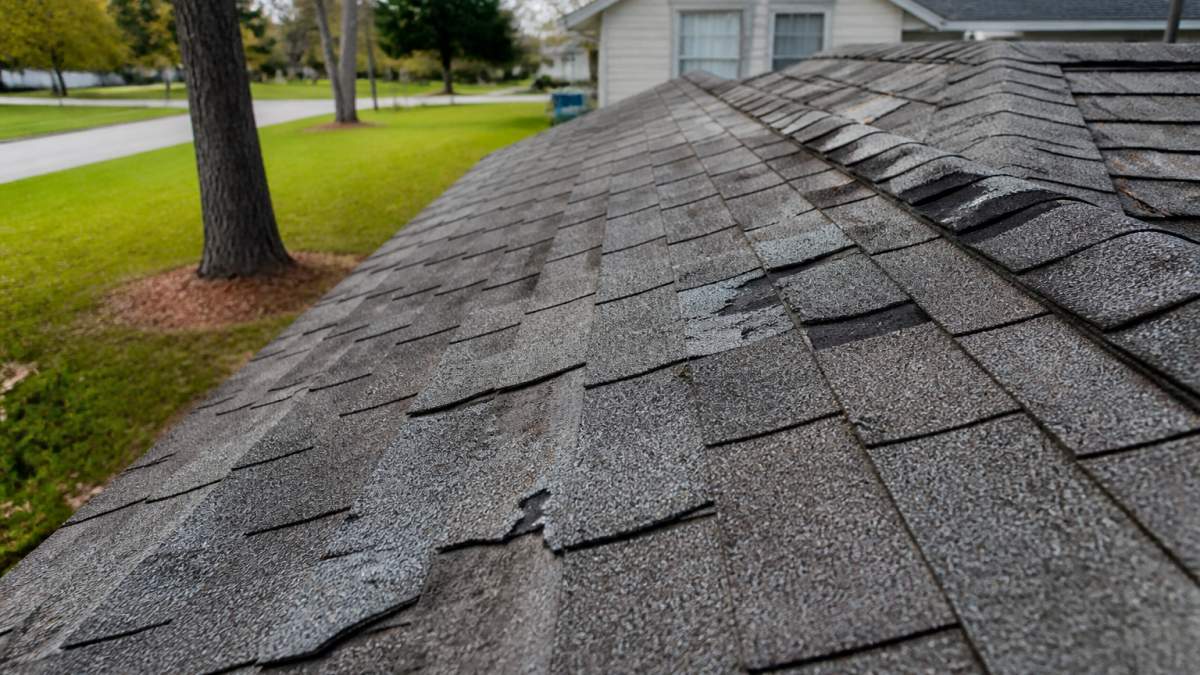
- Missing or lifted shingles, especially along ridges and roof edges where wind uplift hits hardest
- Granule loss, visible as dark patches or grit collecting in gutters
- Hail impact marks, which show as soft dents or bruised spots on shingles and metal
- Damaged flashing, the metal seals around chimneys, vents, and valleys
- Gutter and soffit damage, often the first exterior clue that debris struck the roofline
- Interior water stains on ceilings or attic rafters
Hidden Damage Most Homeowners Miss
Hidden damage is the reason a cheap-looking repair can balloon later. Water intrusion rarely announces itself. It travels along roof decking, soaks insulation, and reaches the ceiling far from the actual breach.
The most commonly missed problems include:
- Compromised roof decking that feels soft or spongy underfoot
- Saturated underlayment that has lost its ability to shed water
- Cracked pipe boots and vent seals that leak only during driving rain
- Ice damming damage near eaves, where meltwater backs up under shingles
- Loosened fasteners that let the next windstorm peel back more material
How to File a Roof Insurance Claim Step by Step
Filing a roof insurance claim is a documented sequence, and skipping steps is the fastest way to a reduced payout. Most policies treat storm damage as a covered peril, but the burden of proof falls on you, so the paper trail matters as much as the damage.
- Document the damage immediately. Photograph and date everything you can safely see, from the ground and inside the attic.
- Review your policy. Confirm your deductible and whether storm damage is covered as a named peril.
- Contact your insurer and open the claim. Ask for the claim number and the name of your assigned claims adjuster.
- Schedule a professional inspection. An independent assessment gives you a second opinion before the adjuster visits.
- Meet the adjuster on site. Walk the roof together so nothing gets missed.
- Review the settlement. Compare the adjuster's scope against your contractor's estimate before accepting.
- Complete repairs and keep every receipt, including emergency tarping costs.
How to Fight Roof Insurance Denial When It Happens
A denial is not the end of the claim. Insurers deny storm claims for reasons that are often correctable, and a documented appeal succeeds more often than most homeowners expect. The two most common grounds are "wear and tear" and "damage below your deductible."
Document Damage Before You Call Anyone
The single most effective denial-prevention step happens before the adjuster arrives. Build a dated evidence file:
- Wide shots and close-ups. Photograph each affected slope from the ground, then close-ups of individual damaged shingles, hail bruises, or lifted edges.
- Scale reference. Place a ruler or coin next to hail dents so the adjuster can gauge impact size, hail under 1 inch in diameter is often argued as cosmetic.
- Date stamps. Most phone cameras embed them; if yours does not, note the date in writing.
- Pre-storm baseline. If you have older photos of the roof in good condition, include them. They prove the damage is new.
- Attic and interior shots. Water stains, daylight through decking, and saturated insulation all corroborate the exterior evidence.
- Receipts for emergency tarping. These are reimbursable and prove the damage was urgent.
The Wear-and-Tear Distinction
The crux of most disputes is whether the storm caused the damage or the roof simply aged out. A roof nearing the end of its service life can still suffer a covered storm loss, the question is whether the storm caused the specific damage you claim.
Three things tip the argument in your favor:
- An independent inspection that documents storm-caused damage separately from normal aging, with photos of both.
- A contractor's written assessment that ties each damaged area to a specific storm event and date.
- A functional damage argument. Insurers sometimes classify hail bruising as cosmetic; a contractor can document whether the bruising compromised the shingle's ability to shed water, which is functional damage and typically covered.
The Appeal Sequence
When you receive a denial:
- Request the denial in writing with the specific reason cited. Verbal denials are not appealable.
- Get an independent inspection that documents storm-caused damage separately from normal aging.
- Submit a formal appeal with photos, dates, and a contractor's written assessment. Most policies allow a set window, often 30 to 60 days from the denial, so file promptly.
- Ask about the appraisal clause in your policy, which lets both sides hire independent appraisers to settle a valuation dispute without litigation.
- Escalate to your state's department of insurance if the dispute continues. Every state has a consumer complaint process, and a regulator inquiry often prompts a second look.
When to Bring in a Public Adjuster
If your claim is large, say, a full roof replacement rather than a patch, a licensed public adjuster can represent you for a percentage of the settlement, typically 10% to 20%. They are not affiliated with your insurer and work only for you. For smaller claims, the fee usually outweighs the benefit, but for a disputed replacement, the math often favors hiring one.
Minor vs. Major Storm Damage: Repair or Replace?
Repair makes sense when damage is isolated; replacement makes sense when damage is widespread or the roof is near the end of its life. The decision comes down to the scope of damage, the roof's age, and whether matching materials are still available.
| Factor | Repair | Replace |
|---|---|---|
| Damage scope | Isolated sections | Widespread across the roof |
| Roof age | Mid-life or newer | Near end of service life |
| Matching materials | Still available | Discontinued or hard to match |
| Structural integrity | Decking intact | Decking compromised |
| Cost efficiency | Lower upfront | Better long-term value |
DIY vs. Professional Repair: What Makes Sense
DIY roof repair makes sense for almost nothing above ground level. Tasks that look simple, like resealing a vent or replacing a shingle, involve heights, roof pitch, and safety risks that outweigh the savings for most homeowners.
Post-Repair Inspection Checklist for Storm Damage
A post-repair inspection confirms the work solved the problem, not just the visible symptom. Run through this checklist before final payment:
- Repaired area matches surrounding shingles in color and profile
- Flashing around chimney, vents, and valleys is sealed and correctly layered
- No exposed fasteners or lifted edges
- Gutters and downspouts clear and draining properly
- Attic checked for new or lingering water stains
- Soffit and fascia inspected for hidden moisture
- Written warranty and material documentation received
- Leak test performed on the repaired section if conditions allow
Frequently Asked Questions
Should homeowners insurance cover roof repairs from a storm?
In most cases, yes. Homeowners insurance typically covers storm damage from hail, wind, and fallen debris. Your policy will have a deductible you pay out of pocket before coverage kicks in. The key is documenting damage quickly and filing your claim before further deterioration occurs. If your insurer denies the claim, you have the right to request a re-inspection or hire a public adjuster to review the assessment.
What is the 25% rule in roofing?
The 25% rule refers to a common insurance and building code guideline: if storm damage affects more than 25% of your roof's total area, many insurers and local codes require full replacement rather than patching. This threshold varies by policy and jurisdiction. Ask your claims adjuster to clarify how your policy applies this rule before you agree to a partial repair settlement.
How much does it cost to fix roof damage?
Roof repair cost for storm damage depends on the material, roof pitch, extent of damage, and labor rates in your area. Minor repairs like replacing a few shingles cost far less than repairing decking, flashing, or underlayment. Emergency tarping adds another line item. The best way to get an accurate number is a free on-site estimate from a licensed roofing contractor who can assess hidden damage.
Does homeowners insurance cover roof replacement due to storm damage?
It can, if the damage is clearly storm-related and not the result of age or neglect. Insurers distinguish between sudden storm damage and gradual wear like shingle granulation or ice damming. A thorough roof inspection with dated photos and a contractor estimate strengthens your claim. If your insurer pushes back, a roofing contractor experienced with claims can help you document the damage properly and dispute a denial.