 ultimate-guide
Minor Storm Damage Roof Repair Costs: 2026 Guide
Table of Contents
- What Constitutes Minor Storm Damage on Your Roof
- Factors That Influence Minor Storm Damage Repair Costs
- Understanding the Roof Insurance Claim Process
- How to Fight Roof Insurance Denial and Protect Your Claim
- DIY vs. Professional Repair: Cost and Risk Comparison
- Post-Repair Inspection Checklist and Hidden Damage Prevention
- Frequently Asked Questions
Last Updated: October 2, 2026
What Constitutes Minor Storm Damage on Your Roof
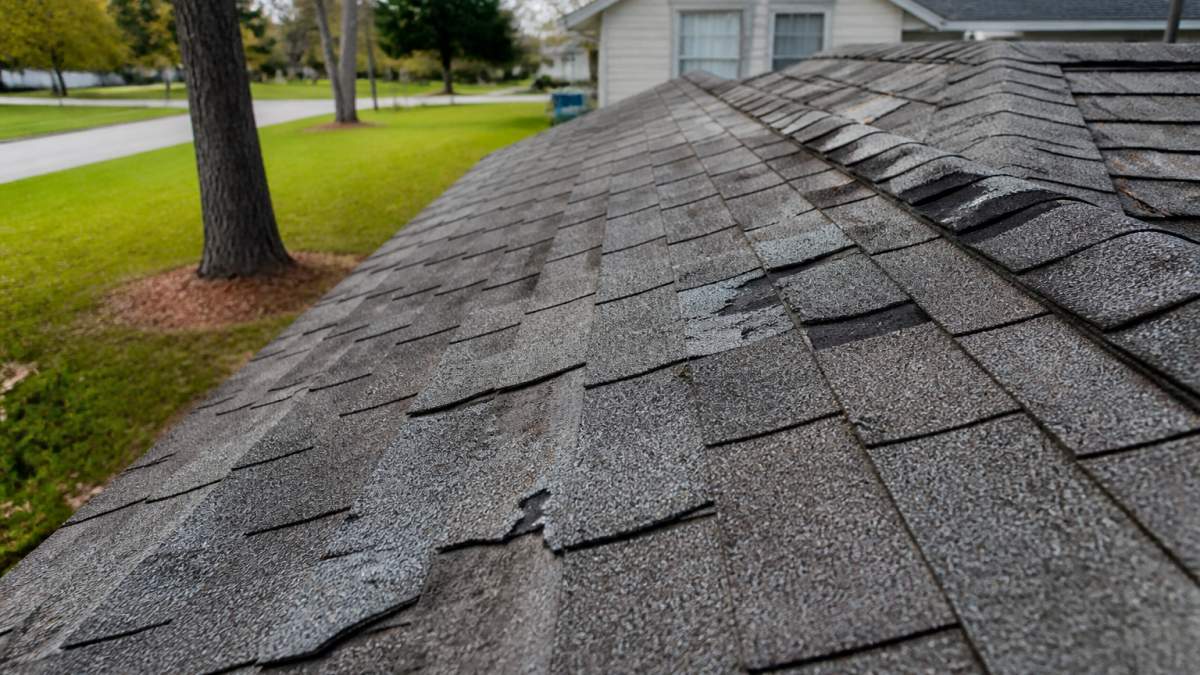
Minor storm damage includes localized issues like missing or cracked shingles, damaged flashing, granulation loss from hail, or minor gutter damage, affecting specific areas rather than widespread roof sections.
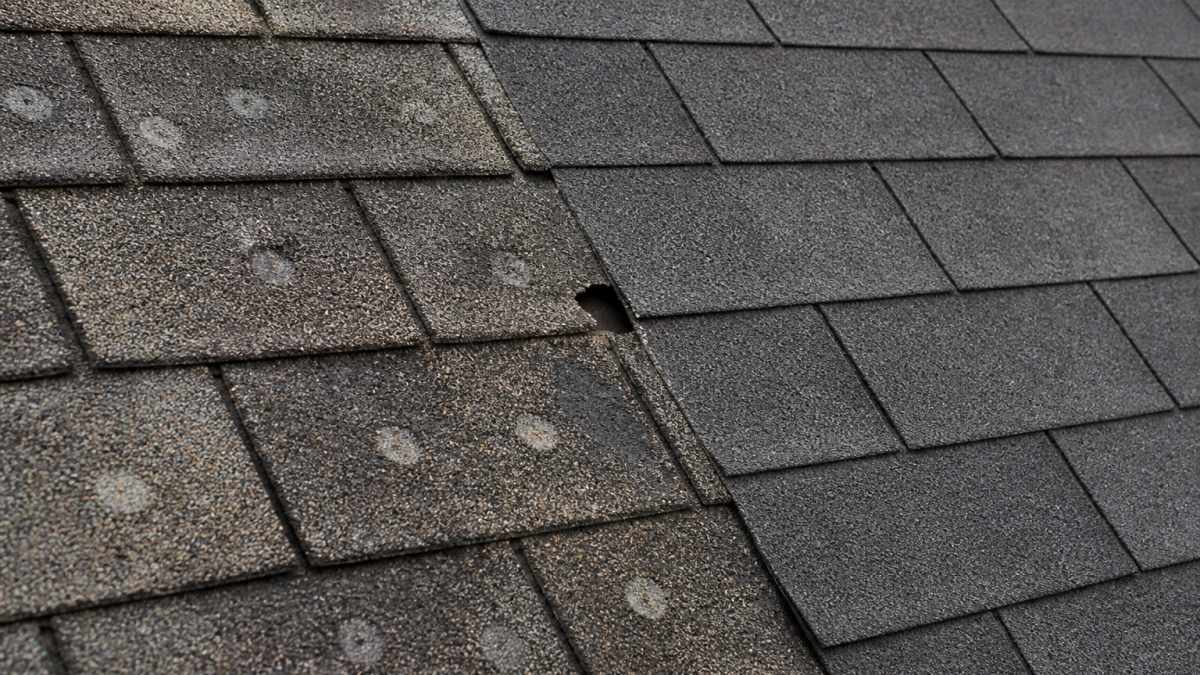
Distinguishing minor from major damage affects repair costs, insurance eligibility, and replacement necessity. A few missing shingles differs from exposed decking or widespread water intrusion. We assess whether water can penetrate the underlayment and whether damage is confined to one or two roof sections.
Wind lifts or tears shingles; hail cracks them and strips granulation; ice damming forces water underneath. All are repairable without replacement, and insurance typically approves claims for minor storm damage roof repair costs with solid documentation.
Factors That Influence Minor Storm Damage Repair Costs
Several variables determine minor storm damage roof repair costs: damaged area size, accessibility, roofing material, and regional labor rates.
Roof pitch and accessibility
Roof pitch significantly impacts labor costs. Shallow 4:12 pitches are easier and faster than steep 10:12 pitches, which require additional safety equipment, slower work, and experienced crews, translating to higher hourly charges.
Accessibility also matters. Damage near peaks requiring scaffolding costs more; damage near gutters is easier and cheaper. Complex roof layouts with valleys or dormers take longer to navigate.
Contractors charge premium rates for emergency repairs during storms; scheduling during normal conditions costs less.
Material-specific pricing
Roofing material determines repair costs substantially. Asphalt shingles are most affordable; metal, wood shake, slate, or tile cost significantly more due to material price and contractor specialization.
Matching existing shingles matters for insurance claims and aesthetics. Older roofs may require sourcing discontinued products, increasing costs if exact matches aren't available.
Some warranties require specific installation methods or materials; using non-approved options voids coverage. Working with experienced contractors protects your long-term interests.
Labor costs and contractor expertise
Labor costs vary by region and experience. Established, insured contractors charge more than unlicensed operators, but the difference reflects reliability. Emergency rates exceed standard rates.
Contractor expertise affects repair quality and longevity. Poor repairs fail within months; experienced contractors understand underlayment, flashing, and ventilation to prevent future leaks.
Thorough inspections may reveal additional damage, damaged decking, compromised ventilation, deteriorated underlayment, increasing scope but preventing expensive problems later.
Understanding the Roof Insurance Claim Process
Most homeowners can file claims for storm damage roof repair costs, but the process requires documentation and understanding policy terms. Insurers determine whether damage resulted from covered perils (wind, hail) or excluded causes (wear and tear, poor maintenance).
Documentation and the claims adjuster
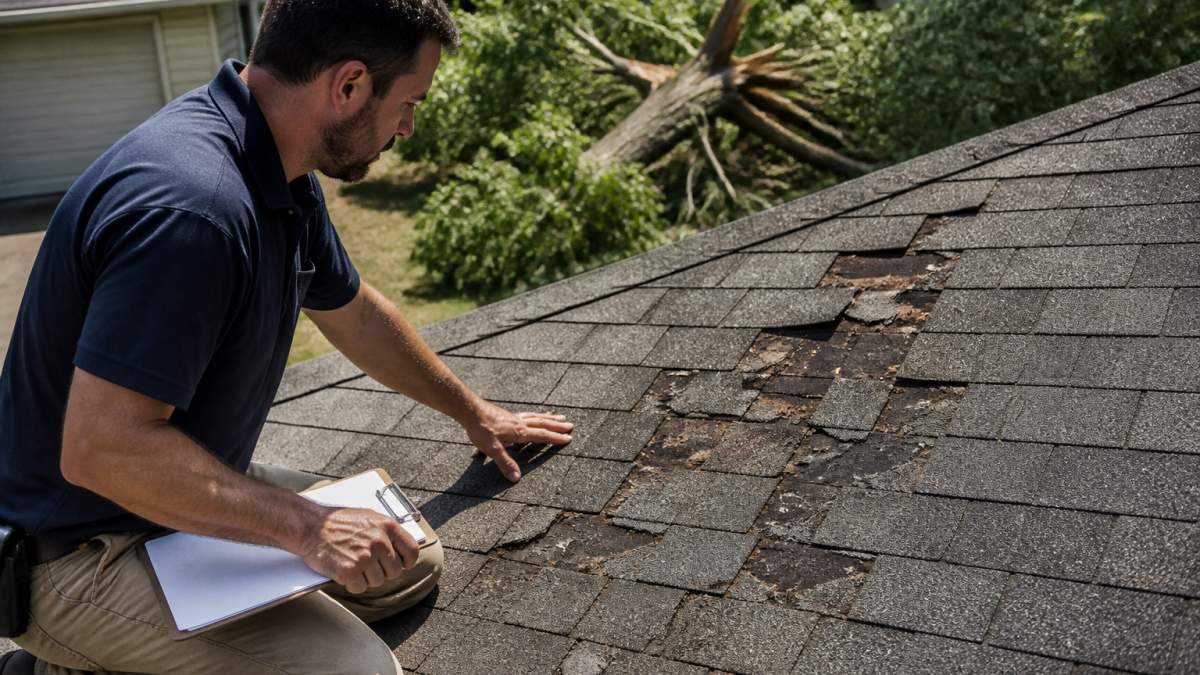
Document damage thoroughly before cleanup or repairs. Take photos and video from multiple angles, close-ups of specific damage and wide shots of the affected area, with clear timestamps.
File claims promptly, most policies require notice within 30 to 60 days. Provide photos, storm description, and date. The insurer will assign an adjuster for in-person inspection.
Be present during adjuster visits. Walk them through damage and ask questions about documentation. Adjusters assess whether damage meets claim thresholds and determine if it's storm-related or from wear and tear.
Insurance deductibles and your out-of-pocket costs
Your insurance deductible is your out-of-pocket responsibility before the insurance company pays anything. If your deductible is $1,000 and the repair estimate is $3,500, you pay $1,000 and the insurer covers $2,500. Some policies have separate deductibles for wind or hail damage, which may be higher than your standard deductible.
Understanding your policy limits matters too. Some homeowner's policies cap roof coverage at a percentage of your home's insured value or a specific dollar amount. If your roof repair exceeds your coverage limit, you're responsible for the excess.
Replacement cost value (RCV) versus actual cash value (ACV) affects payouts. RCV policies reimburse the full cost of replacing damaged materials. ACV policies depreciate the value based on age, so older roofs receive lower payouts. Review your policy to know which type you have.
How to Fight Roof Insurance Denial and Protect Your Claim
Insurance denials happen more often than homeowners expect. Common reasons include the insurer claiming damage is from wear and tear rather than storm impact, the damage predates your current policy, or documentation is insufficient. Understanding denial reasons and how to respond strengthens your position.
Common denial reasons and evidence strategies
The most frequent denial reason is the insurer's determination that damage resulted from wear and tear, not a covered peril. To counter this, provide evidence that the damage is new. Photos showing undamaged areas before the storm, paired with photos showing damage immediately after, create a clear timeline. If neighbors experienced similar damage during the same storm, their claims and damage documentation support your case.
Some insurers deny claims because they claim the damage existed before your policy period began. This requires you to provide documentation of your roof's condition at policy inception. If you had a home inspection during purchase, that report can serve as proof of the roof's prior condition. Maintenance records showing recent repairs also demonstrate active roof management.
Insufficient documentation is another common denial trigger. If your photos are blurry, don't show the damage clearly, or lack context showing the damage location on your roof, the adjuster may deny the claim. Provide multiple angles, close-ups of specific damage, and wide shots showing the roof section affected. Include photos showing the relationship between damaged and undamaged areas.
Some adjusters underestimate repair costs in their initial assessment. If the repair estimate you obtain from a contractor exceeds the adjuster's estimate significantly, request a re-evaluation. Provide the contractor's detailed estimate, showing labor costs, materials, and any additional damage discovered during inspection.
When to escalate or appeal
If your claim is denied, review the denial letter carefully. It should explain the specific reason for denial. If the reason is factually incorrect or if you have evidence contradicting the denial, file a formal appeal with your insurance company.
Many policies include an appraisal clause that allows you to request an independent assessment if you and the insurer disagree on the damage or repair cost. An appraisal involves a neutral third party reviewing the damage and repair estimates. This process can overturn denials based on cost disagreements.
If internal appeals fail, contact your state's insurance commissioner's office. They can investigate complaints and pressure insurers to reconsider improper denials. Some states also require insurers to participate in mediation or arbitration before litigation.
Working with a public adjuster or attorney experienced in insurance claims strengthens your position, especially for large claim amounts.
DIY vs. Professional Repair: Cost and Risk Comparison
Some homeowners consider DIY roof repairs to save money, but the risks often outweigh savings. Understanding the trade-offs helps you make an informed decision.
Post-Repair Inspection Checklist and Hidden Damage Prevention
After repairs are completed, a thorough inspection confirms the work was done correctly and identifies any hidden damage that emerged during repair. This checklist helps you verify quality and catch problems early.
Post-Repair Inspection Checklist:
| Item | What to Check | Why It Matters |
|---|---|---|
| Shingle alignment | New shingles match existing shingles in color, style, and alignment | Misaligned shingles create water pathways and look unprofessional |
| Nailing pattern | Nails are placed in the correct location (typically 5/8" below the adhesive strip) | Incorrect nailing causes shingles to lift or tear in wind |
| Flashing seal | Flashing is sealed with roofing cement and properly overlapped | Unsealed flashing leaks immediately or during heavy rain |
| Underlayment | Underlayment is intact and overlapped correctly | Damaged underlayment allows water to penetrate roof decking |
| Granulation | No excessive granule loss from new or adjacent shingles | Heavy granulation loss indicates premature shingle failure |
| Gutter condition | Gutters are clean and properly attached | Debris-filled gutters cause water backup and ice damming |
| Roof decking | No soft spots, sagging, or visible rot in decking | Damaged decking indicates water intrusion and structural compromise |
| Soffit and fascia | No gaps, damage, or deterioration | Damaged soffit allows pests and water into attic space |
Frequently Asked Questions
What is considered minor storm damage on a roof?
Minor storm damage includes missing or damaged shingles, granulation loss, small dents from hail, minor flashing issues, and gutter damage that doesn't compromise structural integrity or allow water intrusion. Major damage involves extensive shingle loss, roof decking exposure, significant leaks, or structural compromise. The distinction matters for insurance claims and repair urgency, minor damage may not trigger immediate failure but should be addressed to prevent water intrusion and further deterioration.
How much does minor storm damage roof repair typically cost?
Costs depend on damage extent, roof pitch, shingle material, labor rates in your area, and whether repairs qualify for insurance coverage. Pricing varies significantly based on the number of damaged shingles, flashing repairs needed, and accessibility. Contact a local contractor for an accurate estimate tailored to your specific roof and damage assessment. Your insurance deductible will also affect your final out-of-pocket expense.
How do I fight a roof insurance denial for storm damage?
Document damage thoroughly with photos and videos before repairs begin. Obtain an independent contractor estimate that clearly identifies storm-caused damage versus wear and tear. Request the claims adjuster's detailed denial reason in writing. If you disagree, file a formal appeal with additional evidence, including expert testimony if needed. Many denials cite wear and tear rather than storm impact.
What should I look for during a post-repair roof inspection?
Verify that all damaged shingles were replaced (not just patched), flashing is properly sealed and secured, underlayment is intact where exposed, roof ventilation is unobstructed, gutters and downspouts are clear and functional, and there are no gaps or lifted shingles. Check for proper nailing patterns and confirm that new materials match existing roof specifications. Request a written warranty on both materials and workmanship, and photograph the completed work for your records.