 how-to
Preventing Roof Leaks During Storms: 7 Steps
Table of Contents
- Why Roofs Leak When It Rains Hard
- Step 1: How to Identify Storm Damage on Roof
- Step 2: Emergency Roof Leak Repair During Rain
- Step 3: Contain the Water and Protect Your Home
- Step 4: Document the Damage for Your Insurance Claim
- Step 5: Safety First When Working on a Wet Roof
- A Roof Maintenance Checklist for Homeowners
- When to Call a Roofing Professional
- Frequently Asked Questions
Last Updated: September 5, 2026
Storm season puts every roof to the test, and the difference between a dry attic and a costly repair often comes down to preparation and quick thinking. Preventing roof leaks during storms starts with understanding why roofs fail under heavy rain and knowing exactly what to do when water finds a way in. This guide from Leitch Roofing walks through the critical steps to protect your home, from spotting damage before the sky opens up to containing water when a leak appears. We will cover emergency tactics, documentation for insurance, and the maintenance habits that keep your roof sound year after year. Most homeowners wait until they see a ceiling stain to act; the smarter approach is to inspect and maintain before the storm arrives. Roof leaks during storms are rarely sudden events, they usually trace back to a small issue that heavy rain exposes. By the end of this guide, you will know how to respond safely and effectively, protecting both your property and your peace of mind.
Why Roofs Leak When It Rains Hard
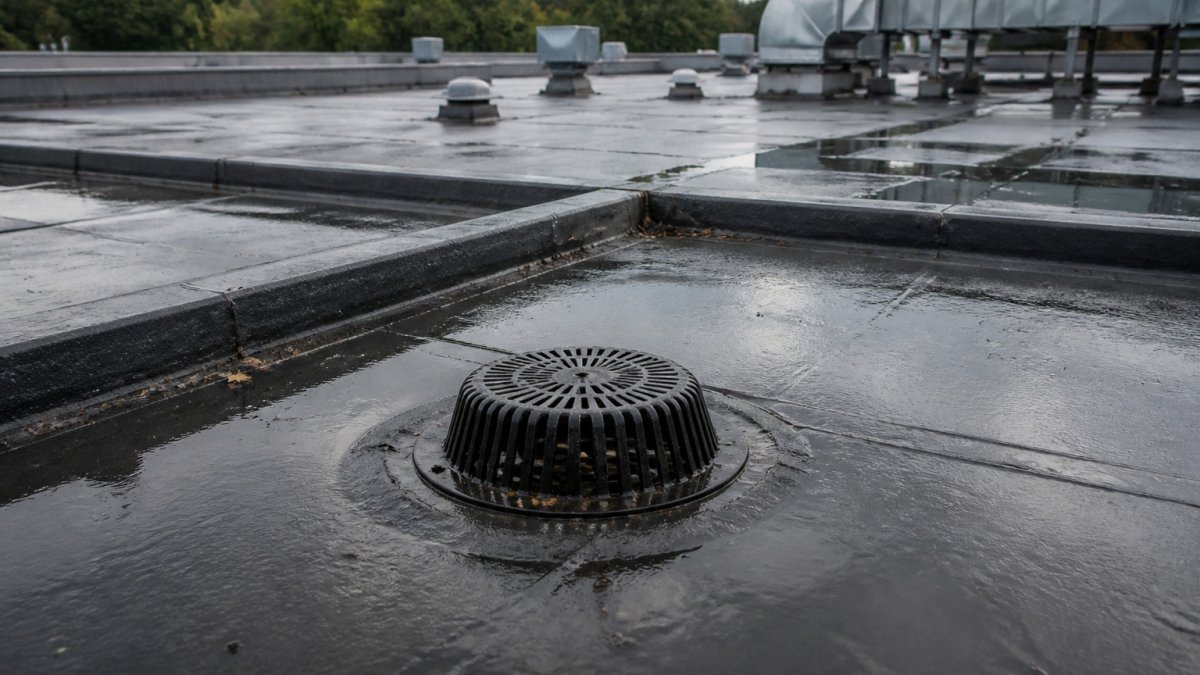
A roof leak during a storm is almost never a single dramatic failure; it is the result of water finding a path through vulnerable points. Heavy rain overwhelms normal water runoff, exposing weaknesses in flashing, shingles, and underlayment that light showers never reveal. Wind-driven rain pushes moisture sideways, testing areas that are not designed for direct water pressure (fema.gov).
The most common culprits are damaged or missing shingles, deteriorated flashing around chimneys and vents, and clogged gutters that force water back under the roof edge. When gutters overflow, water pools along the drip line and seeps beneath the shingles. Attic inspection after a storm often reveals the true leak source, which may be several feet away from where the water appears on your ceiling, as water travels along rafters before dripping down.
The structural integrity of your roof depends on keeping each layer intact. Once moisture intrusion begins, it can rot decking, damage insulation, and compromise the roof's ability to shed water in future storms. Identifying the weak points before they fail is the core of preventing roof leaks during storms.
Step 1: How to Identify Storm Damage on Roof
Spotting storm damage early is the single most effective way to prevent a small issue from becoming an emergency. Start with a ground-level inspection using binoculars, walking around your home and looking for obvious signs of shingle damage, such as missing, cracked, or curled shingles. Pay close attention to areas where roof planes meet walls, as these transitions are prone to flashing failure.
Look for granules from asphalt shingles collecting in gutters or on the ground; this signals advanced wear that reduces the shingles' ability to shed water (energy.gov). Check for dented or loose flashing around chimneys, skylights, and vent pipes, as these metal pieces are common leak sources during heavy rain. Overhanging branches that scrape against the roof can also abrade shingles and should be trimmed back.
A post-storm walkthrough should also include checking the attic for daylight showing through the roof deck, damp insulation, or dark spots on wood. These signs indicate that moisture is already penetrating, even before ceiling stains appear on the living side. If you identify damage, document it with photos and note the location, as this information will matter for repairs and insurance.
Step 2: Emergency Roof Leak Repair During Rain
When water is actively coming through your roof, the immediate goal is to stop or slow the flow from the outside, not to fix the roof permanently. An emergency roof leak repair during rain is about damage control until conditions are safe for a proper repair. Your first action should be to locate the leak from inside the attic, using the highest point of the water trail as a guide.
For a temporary patch, the most effective tool is a tarp. If you can safely access the roof, or even from a ladder at the edge, cover the suspected leak area with a large tarp, extending it well beyond the damaged section. Secure the tarp over the roof peak or tie it down with ropes anchored to heavy objects, never nail it into the roof as this creates new holes. The goal is to divert water runoff away from the damaged area.
For smaller, accessible gaps around flashing or vents, a temporary patch using roofing cement or rubberized caulk can slow intrusion. Peel-and-stick tape designed for roof repair can also seal small cracks in shingles or along seams. These are sealant applications meant to buy you hours or days, not seasons. They will not hold up to prolonged exposure or another storm, so schedule a professional assessment as soon as the weather clears.
Step 3: Contain the Water and Protect Your Home
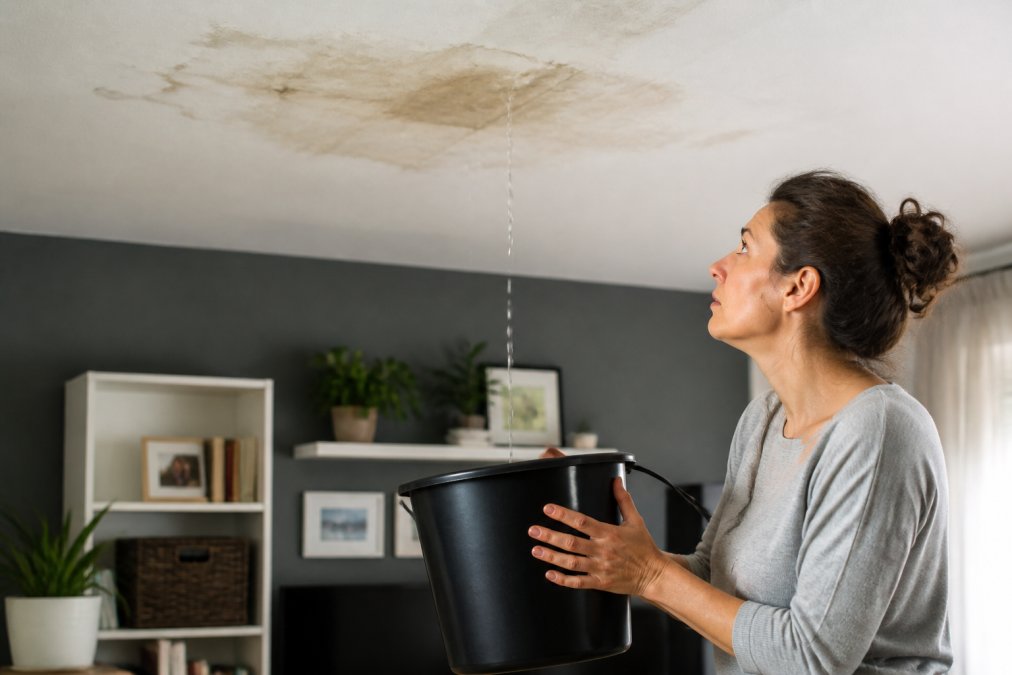
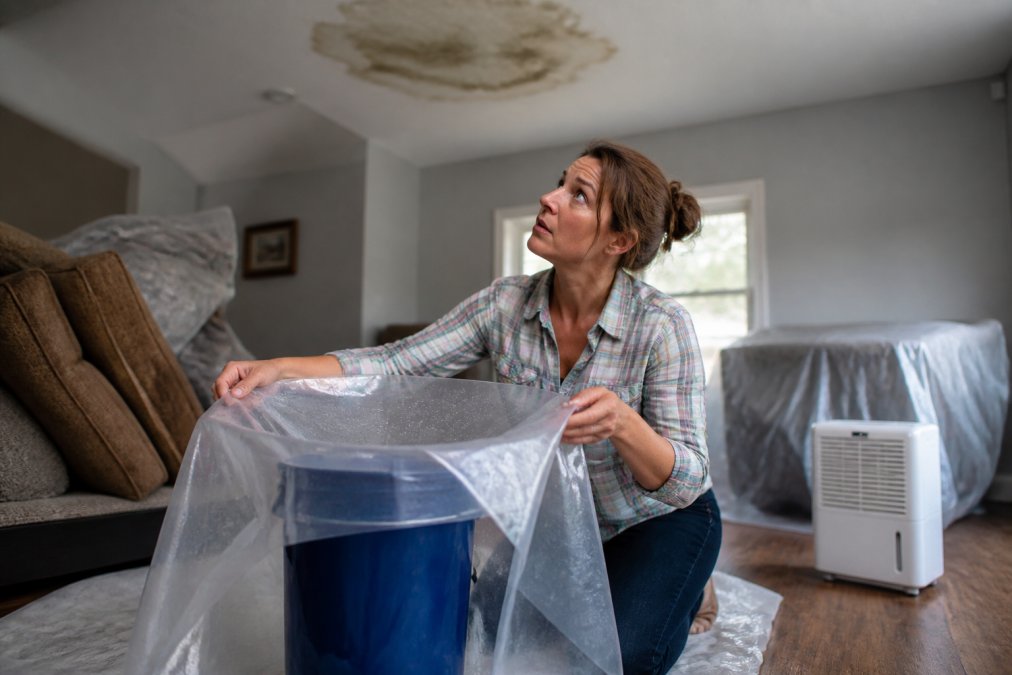
While the rain falls, your focus shifts inside to minimizing water damage to your home's interior. Water containment is a two-part job: catching the active drip and protecting your belongings from moisture and humidity. Move furniture away from the leak area and place buckets or large containers under the drip. For a steady stream, position a tarp or plastic sheeting to funnel water into the bucket, protecting a larger floor area.
Poke a small hole in a sagging ceiling if water is pooling there, using a screwdriver or nail (the CDC). This sounds counterintuitive, but it allows water to drain into a bucket rather than spreading across the ceiling and weakening the drywall. A sagging ceiling is heavy with water and can collapse; releasing the pressure is the safer course of action.
Run a dehumidifier in the affected space if you have one, and use fans to circulate air. This helps prevent moisture from soaking into carpets and drywall, which is the first step in preventing mold growth. If the leak is severe, consider turning off power to the affected room at the breaker box to avoid electrical hazards.
Step 4: Document the Damage for Your Insurance Claim
Thorough documentation is the difference between a smooth insurance claim and a frustrating battle. Before you touch anything for temporary repairs, take extensive photos and video of the damage, both inside and outside. Capture the water stains, the damaged shingles, the interior damage to ceilings and walls, and any affected personal belongings. This visual evidence is your primary tool for demonstrating that the damage resulted from the storm, not from wear and tear.
Create a written inventory of damaged items, noting their approximate age and value. Keep all receipts for emergency purchases like tarps, buckets, and dehumidifier rentals, as these may be reimbursable. Many policies cover "reasonable emergency measures" taken to prevent further damage, but you must be able to prove what you spent and why.
Contact your insurance company as soon as possible to file a claim. When the adjuster visits, point out all areas of damage and share your documentation. The distinction between storm damage and wear and tear is a common point of dispute, and having clear, dated evidence of the storm event and resulting damage strengthens your position. A roofing contractor experienced with insurance claims can be a valuable ally in this process, helping to ensure that all damage is identified and properly documented.
Step 5: Safety First When Working on a Wet Roof
The most important rule of storm response is that no repair is worth an injury. Working on a wet roof is extremely hazardous, and the risk of falling increases dramatically when surfaces are slick and wind is high. Unless the leak is minor and easily accessible from a ladder at the roof edge, do not attempt to climb onto the roof during a storm.
If you must access the roof for an emergency tarping, follow strict ladder protocols. Place the ladder on firm, level ground and have a second person hold the base. Wear shoes with good traction and avoid walking on steep slopes or near the edges. The presence of water can hide weak spots in the roof deck, so move carefully and test your footing before shifting your weight.
Your personal safety gear matters as much as your ladder technique. Gloves protect against sharp edges from damaged shingles and flashing, and safety glasses shield your eyes from debris and water runoff. Never work on the roof during lightning, high winds, or when you are fatigued. If the situation feels unsafe, step back and wait for the storm to pass. A temporary interior fix and a tarp from the ground are better than a hospital visit.
A Roof Maintenance Checklist for Homeowners
Prevention is always cheaper than repair, and a regular maintenance routine is the best defense against storm damage. This roof maintenance checklist for homeowners focuses on tasks you can perform safely from the ground or with a simple ladder, aimed at keeping your roof in fighting shape before the next storm hits.
- Clean gutters and downspouts at least twice a year, more if you have overhanging trees. Clogged gutters cause water to back up under the roof edge, a leading cause of leaks.
- Trim overhanging branches so they do not scrape shingles during wind or drop heavy limbs onto the roof.
- Inspect shingles from the ground with binoculars for signs of cracking, curling, or missing pieces.
- Check flashing around chimneys, vents, and skylights for rust, gaps, or loose seals.
- Remove moss and algae growth, which traps moisture against shingles and accelerates deterioration.
- Check attic ventilation to ensure proper airflow, which prevents moisture buildup and ice dams in colder months.
- Look for ceiling stains inside your home, as these can indicate a slow leak that has not yet become active during a storm.
| Maintenance Task | Frequency | Primary Benefit |
|---|---|---|
| Clean gutters and downspouts | Twice yearly | Prevents water backup at roof edge |
| Trim overhanging branches | Annually or as needed | Prevents physical damage from limbs |
| Visual shingle inspection | After major storms | Identifies missing or damaged shingles |
| Check flashing and seals | Annually | Prevents leaks at roof penetrations |
| Remove moss and debris | As needed | Prevents moisture trapping on shingles |
Staying consistent with these tasks addresses the most common causes of roof leaks during storms. A roof that is well-maintained sheds water effectively, and minor issues are caught before they become major failures. For a more detailed assessment, a professional roof inspection can identify problems that are not visible from the ground.
When to Call a Roofing Professional
Some situations clearly require professional expertise. If you see significant shingle damage, large areas of missing flashing, or if water is entering your home in multiple places, it is time to call a roofing professional. Attempting a permanent repair on complex damage without the right skills and materials often leads to more extensive problems down the road, including structural issues and mold growth.
A professional roofer brings more than just repair skills. They can perform a comprehensive roof inspection to identify all storm damage, not just the obvious leak. They also have the experience to work with insurance adjusters, helping to ensure that the full scope of damage is documented and covered. When you are dealing with an insurance claim, having a contractor who understands the process can simplify a stressful situation.
Leitch Roofing provides expert roofing solutions for both residential and commercial properties. Our team uses quality materials and skilled crews to ensure durable results for every repair or replacement project. We also offer specialized insurance claim assistance to simplify the process for our clients, helping you navigate the complexities of storm damage. If you are facing roof damage or want to be prepared for the next storm, contact us for a free estimate and experience our commitment to professional roofing excellence.
Storm damage is stressful, and the aftermath often brings questions about costs, timelines, and the quality of repairs. You want a contractor who communicates clearly and stands behind their work, not one who disappears after the first payment. At Leitch Roofing, we focus on professional service and durable results, using quality materials to ensure your roof is ready for whatever the weather brings. We simplify the insurance claim process so you are not left fighting the adjuster alone, and we provide free estimates to help you plan your next step. Get started with Leitch Roofing and secure your home against the next storm.
Frequently Asked Questions
Does homeowners insurance cover roof leaks due to rain?
Homeowners insurance typically covers roof leak damage if the cause is a sudden event, like wind tearing off shingles or a falling tree limb during a storm. Damage from gradual wear and tear or lack of maintenance is usually not covered. Document the damage with photos and contact your insurer promptly. A professional inspection can help determine the cause and support your claim.
Can I put a tarp on my roof to stop leaks?
Yes, emergency tarping is a common temporary fix to prevent further water damage after a storm. It is safest to do this when the roof is dry. Secure the tarp over the damaged area, ensuring it extends past the leak source and over the roof peak. This is a temporary solution until a professional can make permanent repairs.
How often should I inspect my roof to prevent storm damage?
You should perform a visual roof inspection at least twice a year, in the spring and fall. Also inspect after any major storm with high winds or hail. Look for missing, cracked, or curling shingles, and check for granules in your gutters. Keeping up with this roof maintenance checklist helps you spot small problems before they become leaks.
What are the most common causes of roof leaks during storms?
The most common causes are damaged or missing shingles, compromised flashing around chimneys and vents, and clogged gutters that cause water to back up under the roof edge. High winds can lift shingles, allowing rain to penetrate the underlayment. Overhanging branches can also scrape granules off shingles during a storm, leading to accelerated wear.
Frequently Asked Questions
Q: Does homeowners insurance cover roof leaks due to rain?
A: Homeowners insurance typically covers roof leak damage if the cause is a sudden event, like wind tearing off shingles or a falling tree limb during a storm. Damage from gradual wear and tear or lack of maintenance is usually not covered. Document the damage with photos and contact your insurer promptly. A professional inspection can help determine the cause and support your claim.
Q: Can I put a tarp on my roof to stop leaks?
A: Yes, emergency tarping is a common temporary fix to prevent further water damage after a storm. It is safest to do this when the roof is dry. Secure the tarp over the damaged area, ensuring it extends past the leak source and over the roof peak. This is a temporary solution until a professional can make permanent repairs.
Q: How often should I inspect my roof to prevent storm damage?
A: You should perform a visual roof inspection at least twice a year, in the spring and fall. Also inspect after any major storm with high winds or hail. Look for missing, cracked, or curling shingles, and check for granules in your gutters. Keeping up with this roof maintenance checklist helps you spot small problems before they become leaks.
Q: What are the most common causes of roof leaks during storms?
A: The most common causes are damaged or missing shingles, compromised flashing around chimneys and vents, and clogged gutters that cause water to back up under the roof edge. High winds can lift shingles, allowing rain to penetrate the underlayment. Overhanging branches can also scrape granules off shingles during a storm, leading to accelerated wear.